Appendix A: Ubuntu 20.04.1 Installation Steps
The chapter will show the steps to be followed to install Ubuntu 20.04.1 LTS 64-bit operating system.
Step 1: Boot the board from Live CD
Boot the board from Live CD , load the Ubuntu 20.04.1 live CD into the CD or DVD drive, and switch on the board with the disc still in the drive and watch the initial BIOS screen for a prompt that indicates which key to use for either:
a boot menu, or
the BIOS setup utility
The boot menu option is preferable. If you cannot see such a prompt, on many systems, the required key will be, F2 or Delete. Then change boot priority option to boot from drive.
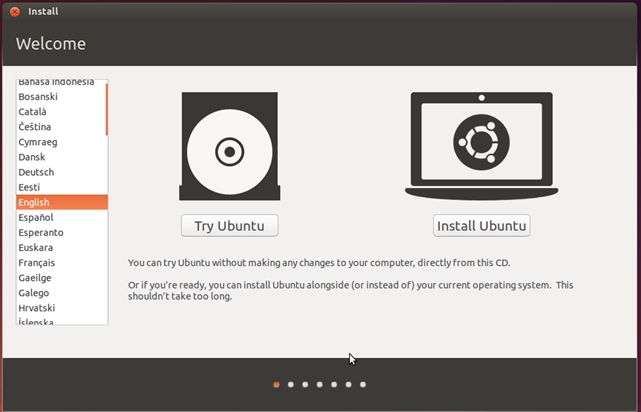
Select the Install Ubuntu button.
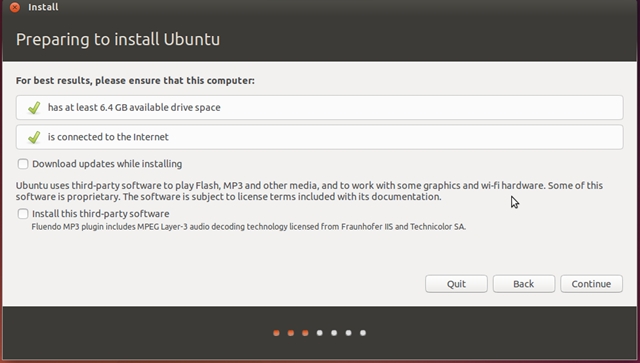
Step 2: Uncheck Download updates while updating and Install this third party section if it is checked
Step 3: Installation type selection - Select “Something else” option and click continue.
Figure 8: Installation Type Selection
Step 4: Creating new empty partition table
Click the “New Partition Table” and Click “continue”
Figure 9: Creating new empty partition table
Select the “free space” and click the “+” button
Figure 10: Select Free space
Select “Ext4 journaling file system” option. Select “ / ” for the Mount point and click Ok
Figure 11: Select Ext4
Click Install now
Figure 12: Click Install Now
Step 5: Not selecting a partition for use of Swap space
To increase life-span of SATADOM Flash Disk, it is better to not use swap space because the Linux OS access the swap space frequently. The Venus KBL board has 4GB soldered SDRAM and this is enough for better performance. Hence Click “Continue” to avoid allocating a partition for swap space.
Figure 13: Installation without Swap Space
Step 6: Time Zone Configuration
Select the country by moving around the World map.
After selecting the country, press continue.
Figure 14: Time Zone Configuration
Step 7: Language Selection - Select the language and press continue.
Figure 15: Select Language
Step 8: Set the user name.
Provide the user name and password.
For example user name is dscguest, type the user name in the ‘Your name’ section.
For example password is dscguest, type the password in ‘Choose a password ’section.
The given Your name becomes the user account name for the system and also serves as the administrator
Figure 16: User name and password
Step 9:
The following screen will be appeared and it will install the OS.
Figure 17: Installing System
Step 10:
Restart the system to complete Ubuntu 20.04.1 LTS OS installation once the following window is appeared.
Figure 18: Restart Now
Last updated

