APPENDIX H: QNX IMAGE RE-FLASHING
If SATADOM is corrupted, try the steps given in trouble shooting section to recover the QNX OS.
If the QNX OS could not recover, follow this section to re-flash the QNX image. The following files are present in DVD which received along with Aries SDK kit
Files required
QNX BSP files
ARS_QNX7.0_32-Bit_32GB folder with following files
clonezilla-live-2.5.0-25-i686– CloneZilla OS
tuxboot-0.8.3.exe – To make a pen drive CloneZilla OS bootable
Setup Requirements
SATADOM of 16GB – Target media
Two 8 GB pen drives
First 8 GB pen drive – To have ARS_QNX7.0_32-Bit_32GB folder
Second 8 GB pen drive – To have CloneZilla OS bootable
A development PC with windows 7 OS – To make a pen drive as CloneZilla OS bootable
Make an 8 GB pen drive as CloneZilla OS bootable:
Connect the 8 GB pen drive to a windows PC
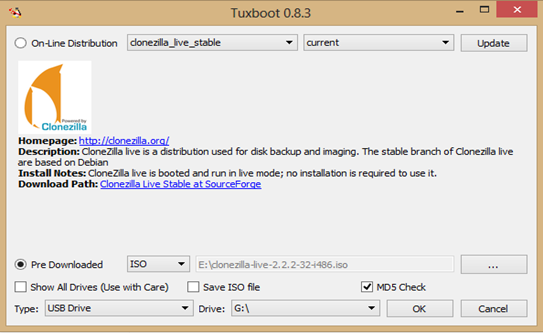
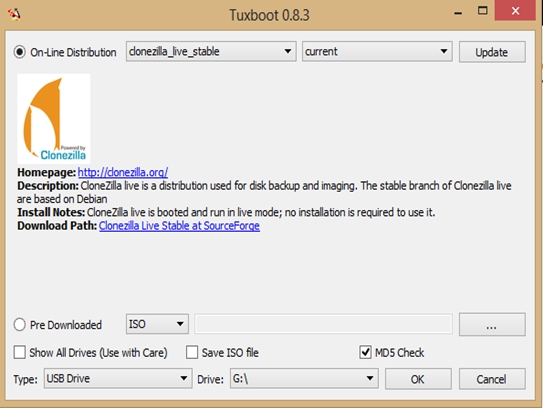
Run tuxboot-0.8.3.exe and it will show the pen drive in bottom.
Select disk image and browse “clonezilla-live-2.5.0-25-i686” file and click ok.
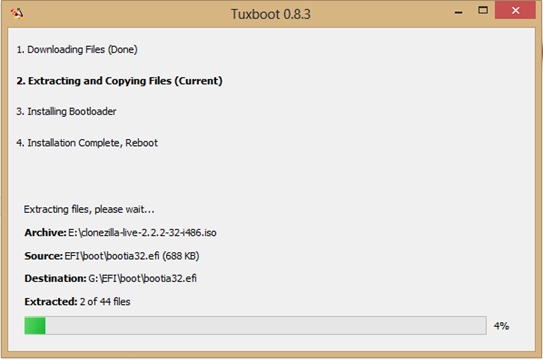
It will start copying files as follows
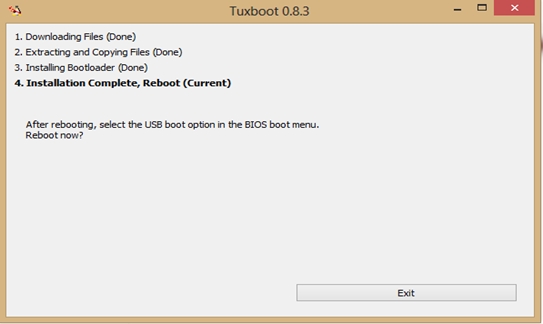
Finally it will show the following screen, click exit and now the pen drive is CloneZilla OS bootable
Store QNX BSP image to new/corrupted SATADOM using CloneZilla OS
Copy ARS_QNX7.0_32-Bit_32GB folder to a pen drive
Connect SATADOM to Aries board
Connect CloneZilla bootable pen drive to Aries board
Connect pen drive which has ARS_QNX7.0_32-Bit_32GB folder to Aries board
Power on the board and boot to BIOS setup (by continuously pressing DEL key during boot up)
Go to Boot->Hard disk priorities then choose CloneZilla pen drive as first boot device
Press F4 and save.
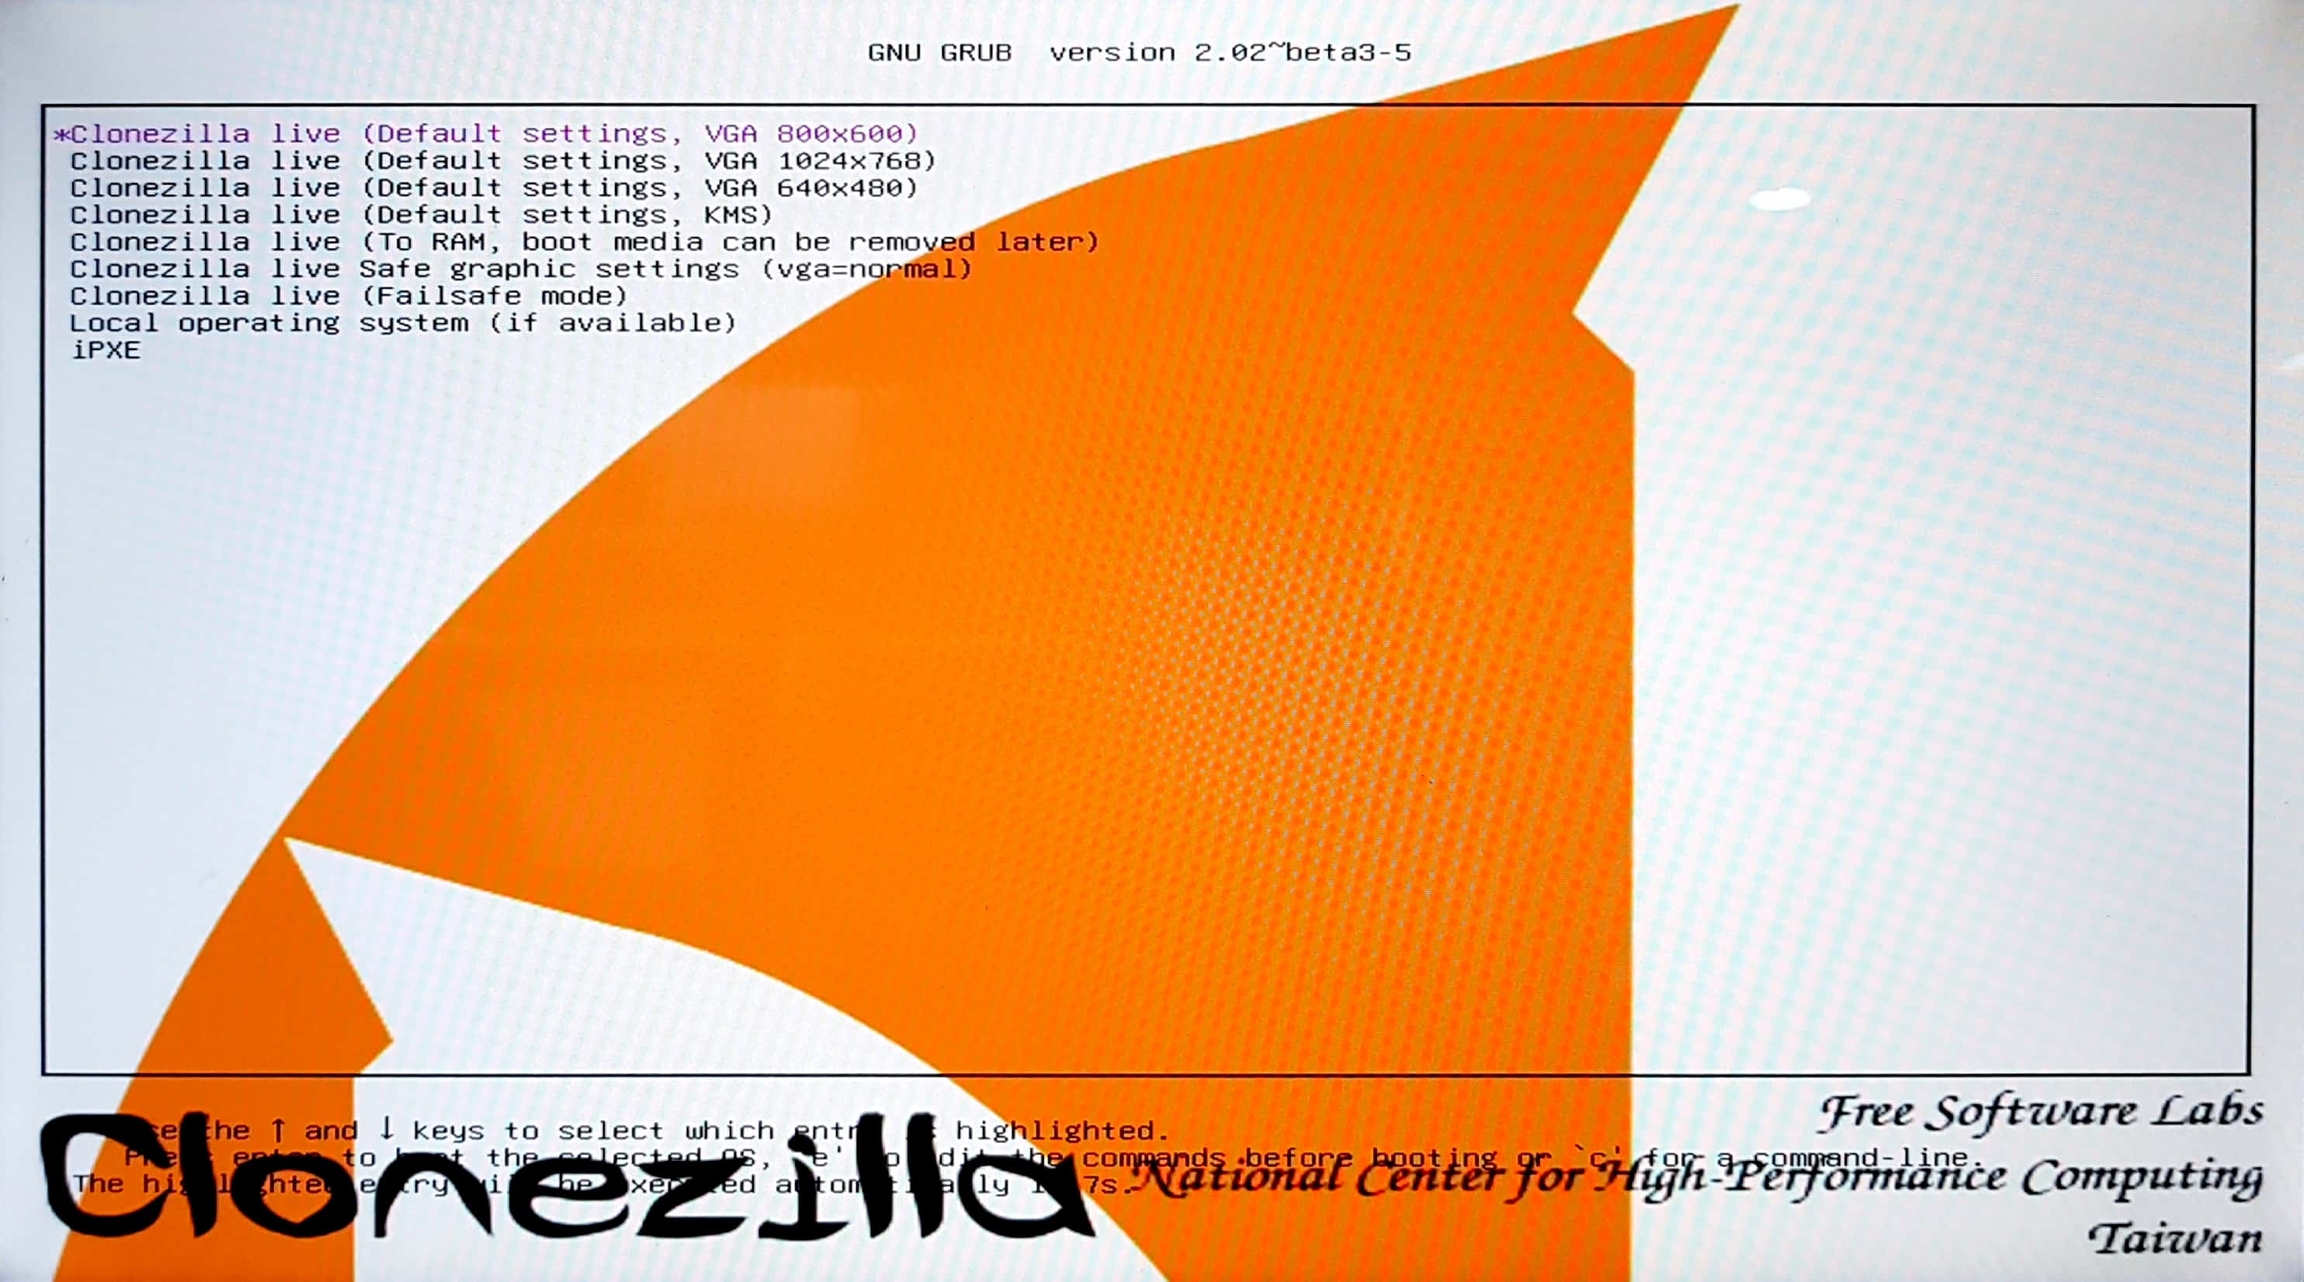
It will boot to CloneZilla OS as follows and select first option and press enter
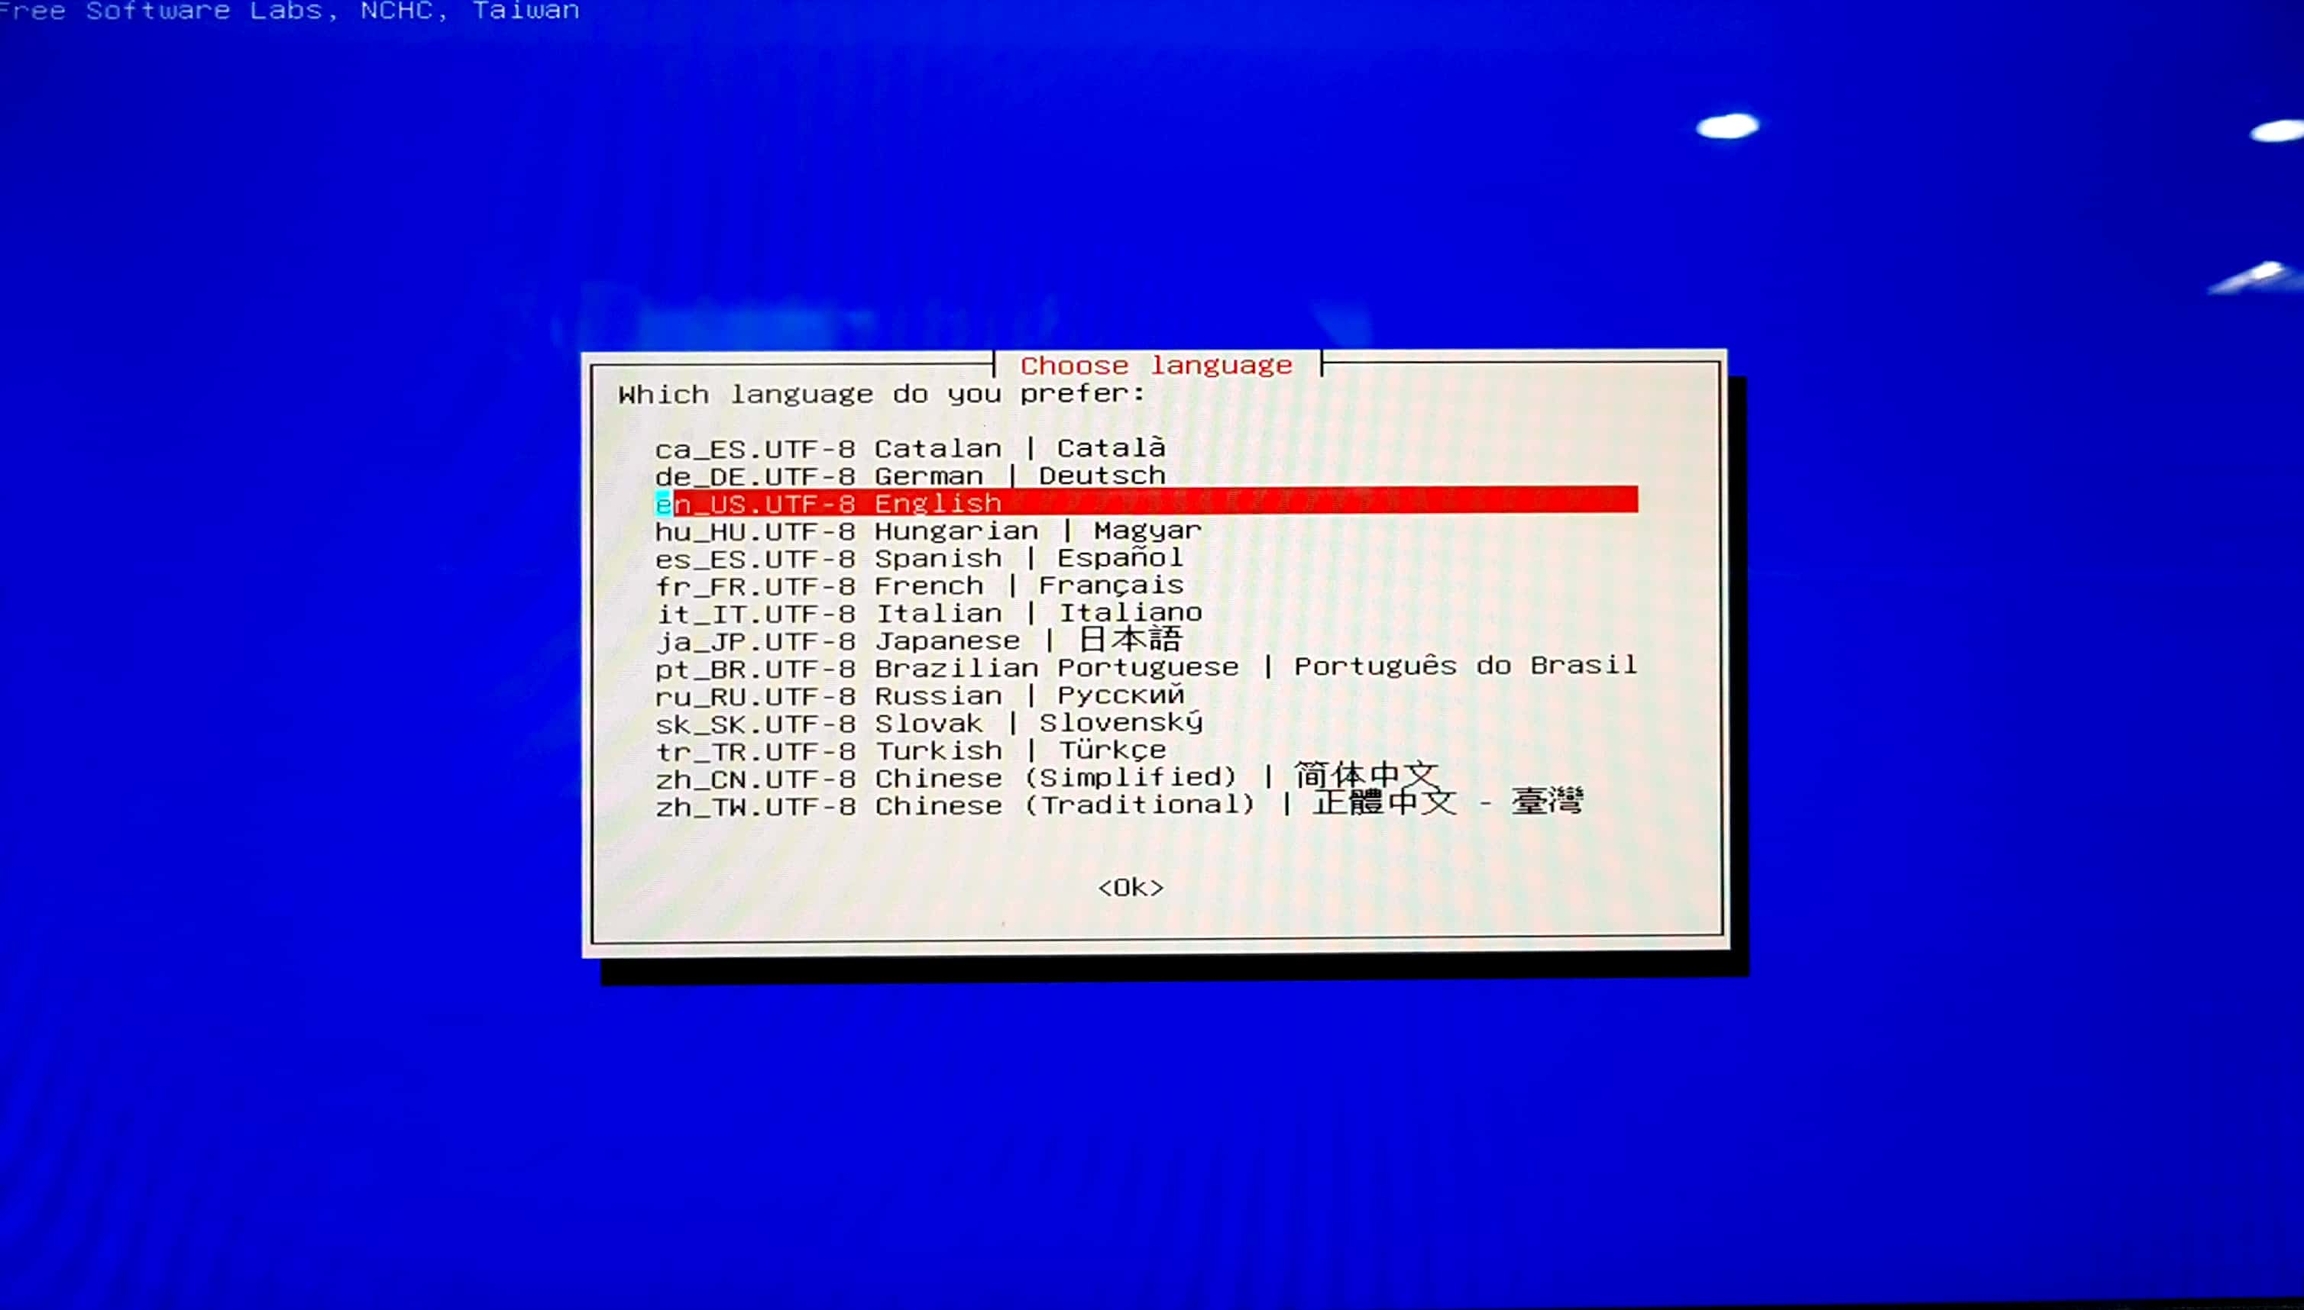
Choose language
The default keyboard layout is US keyboard, therefore if you are using US keyboard, just press enter (i.e. use the option "Don't touch keymap")
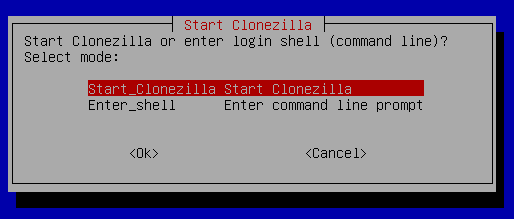
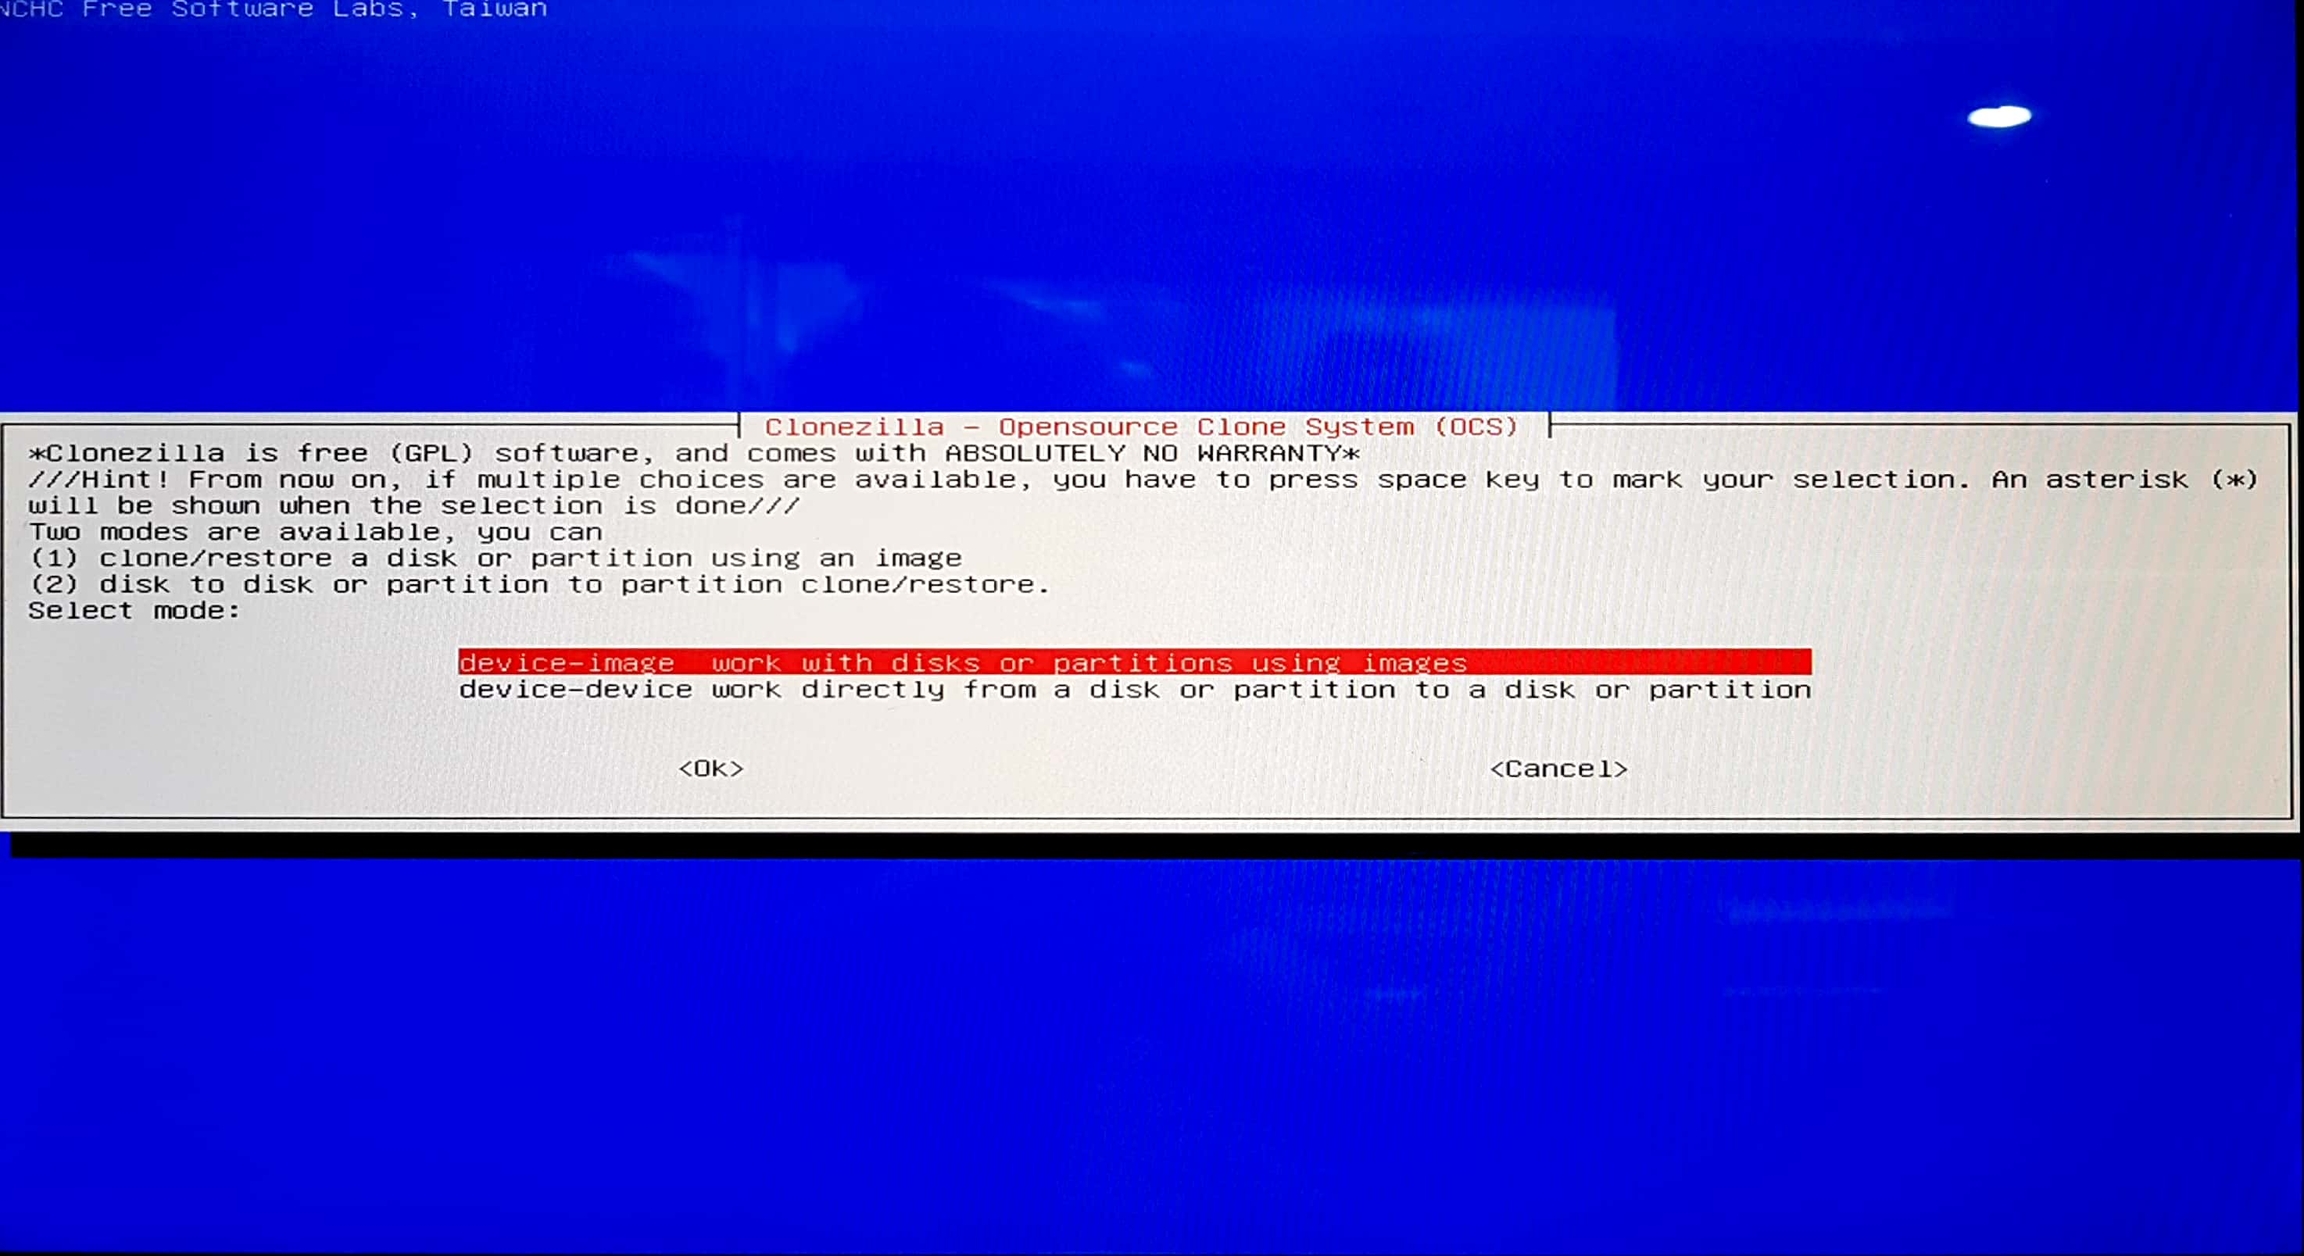
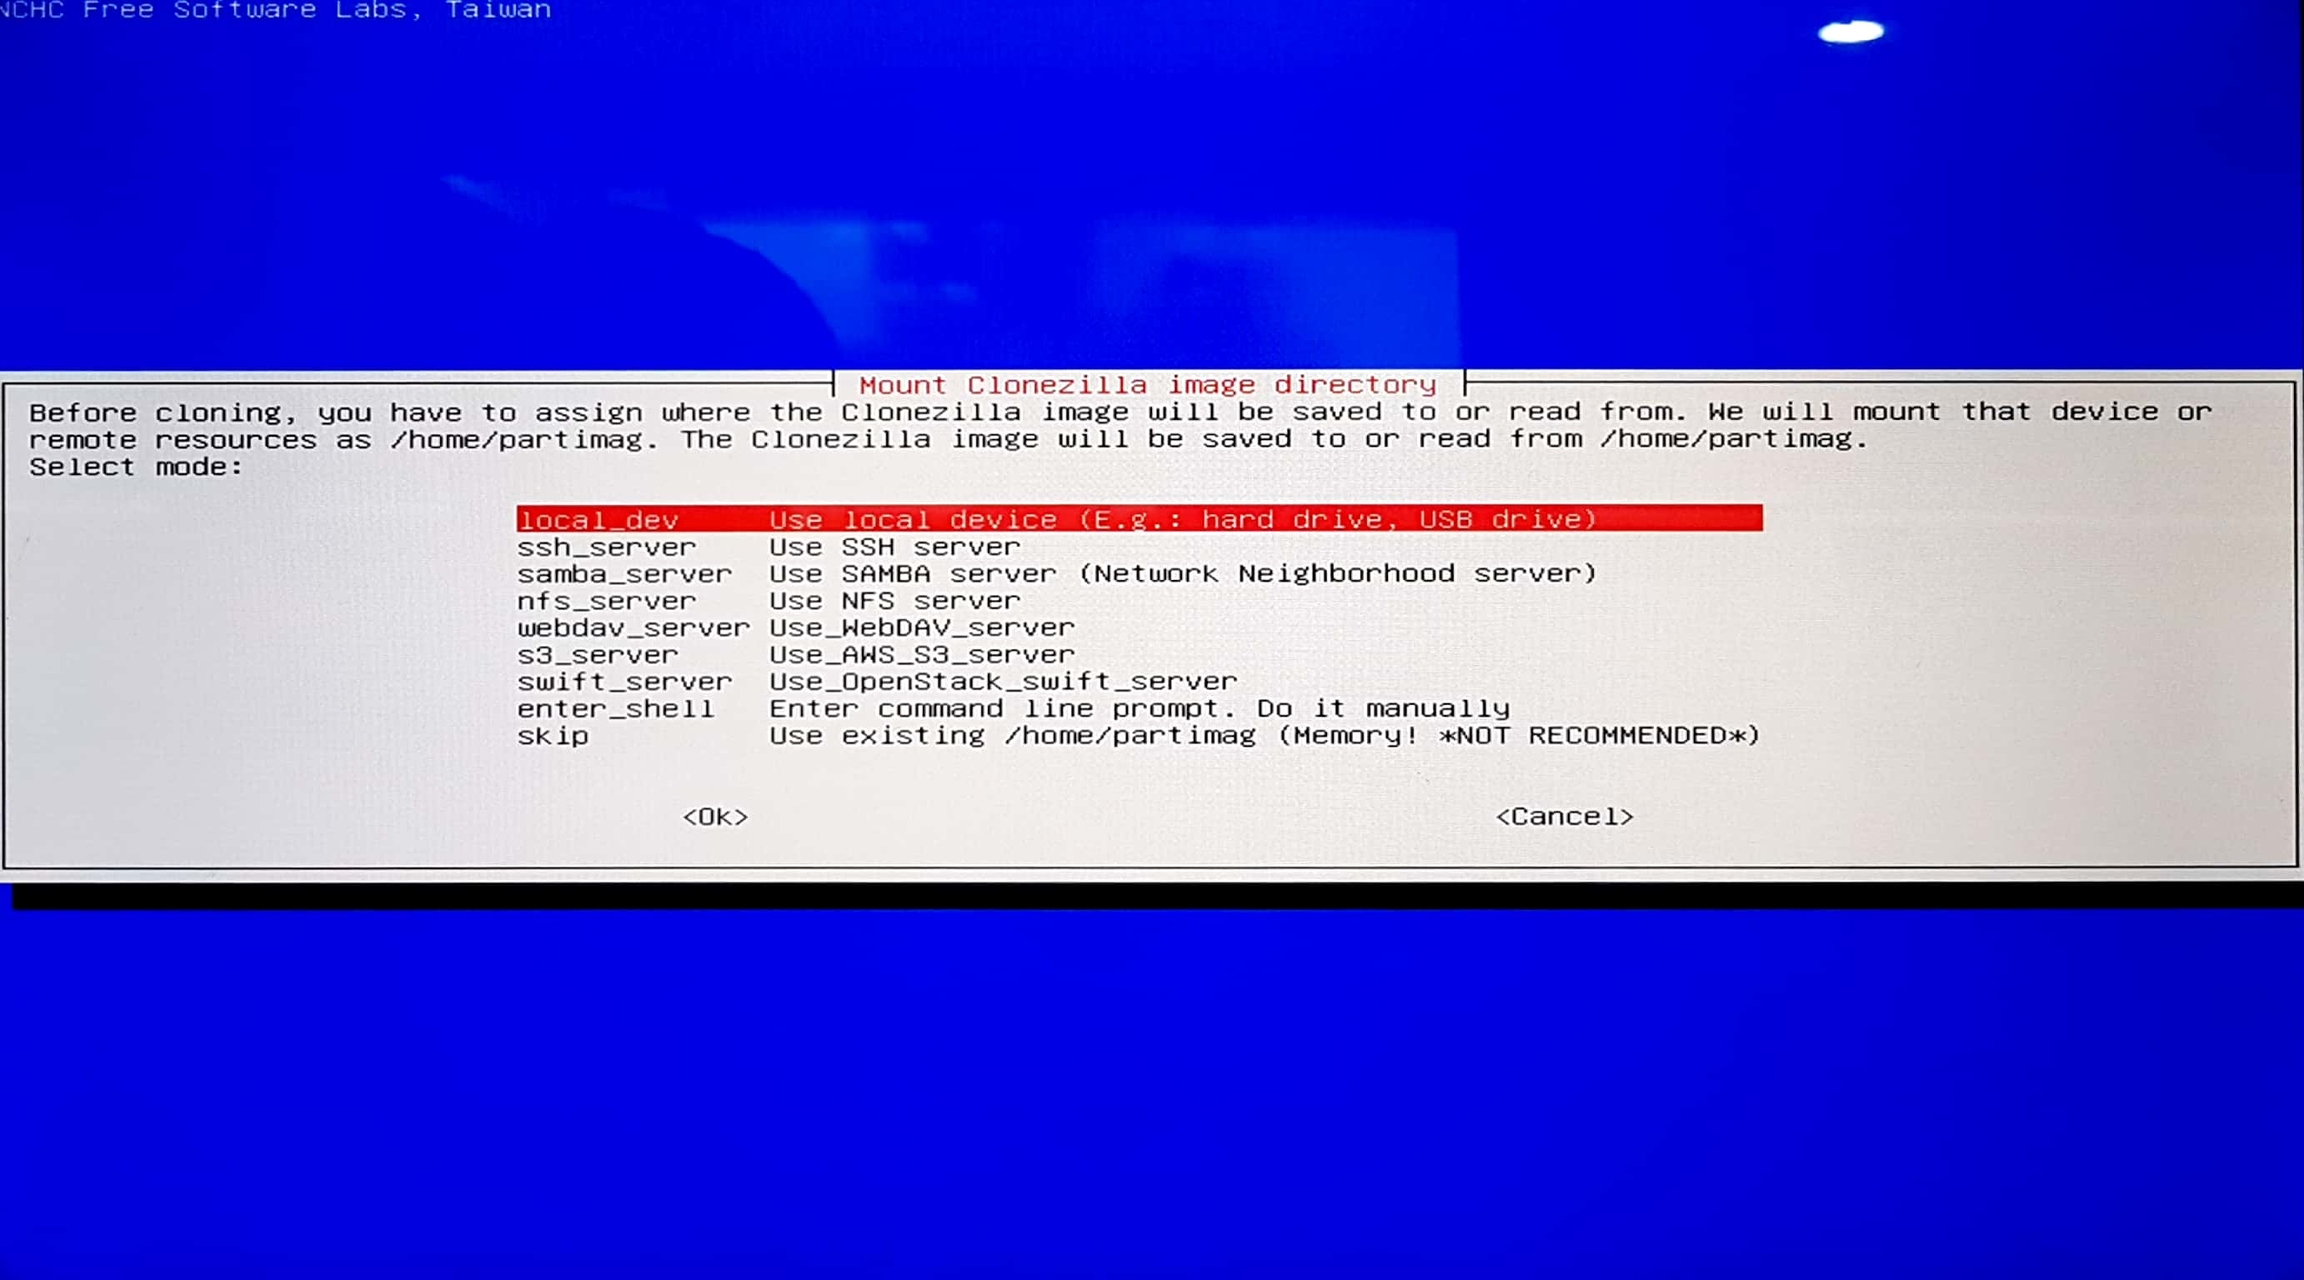
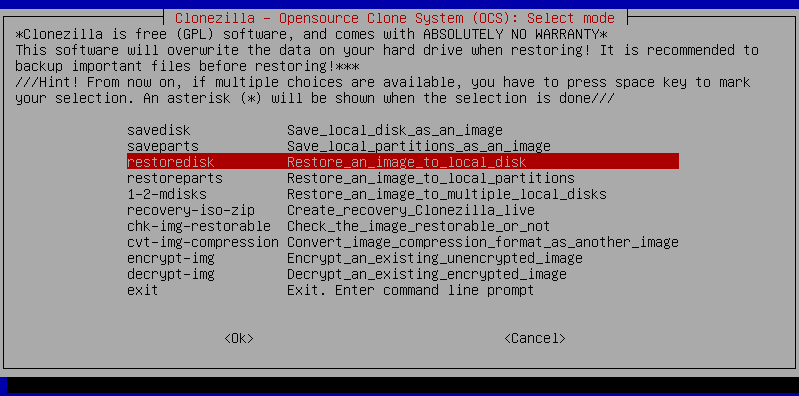
Select following option
Attach pen drive which is having Aries QNX 32 bit image. Select following option
Select following option
Press Enter to continue
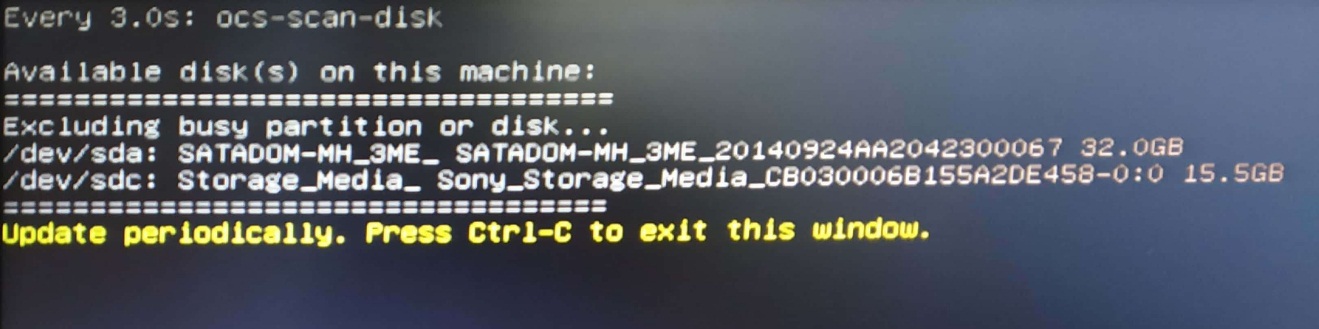
Wait until the pen drive which has ARS_QNX7.0_32-Bit_32GB_BSP_Image folder is detected, once it detects then press “Ctrl+C”. (Remove ARS_QNX7.0_32-Bit_32GB_BSP folder contained pen drive and note pen drive name for reference.)
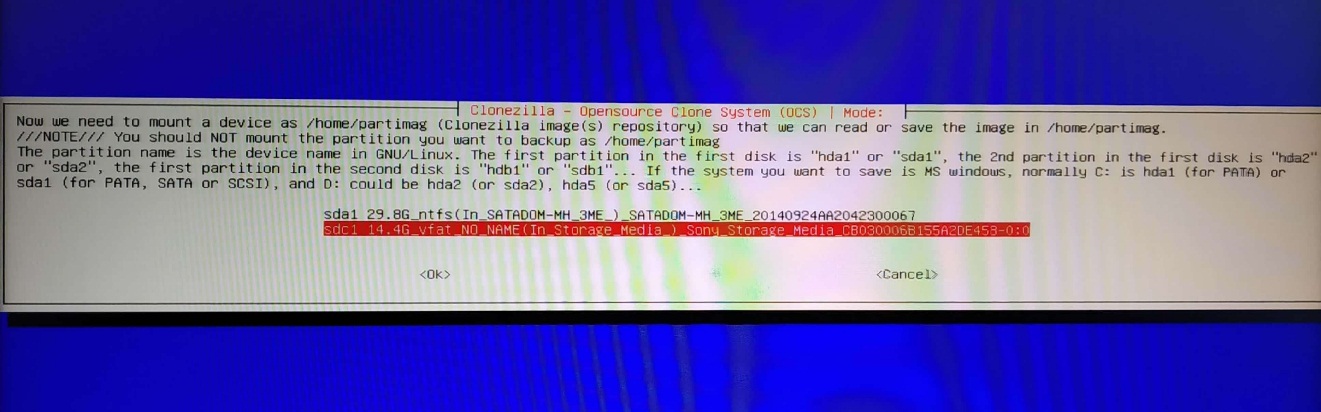
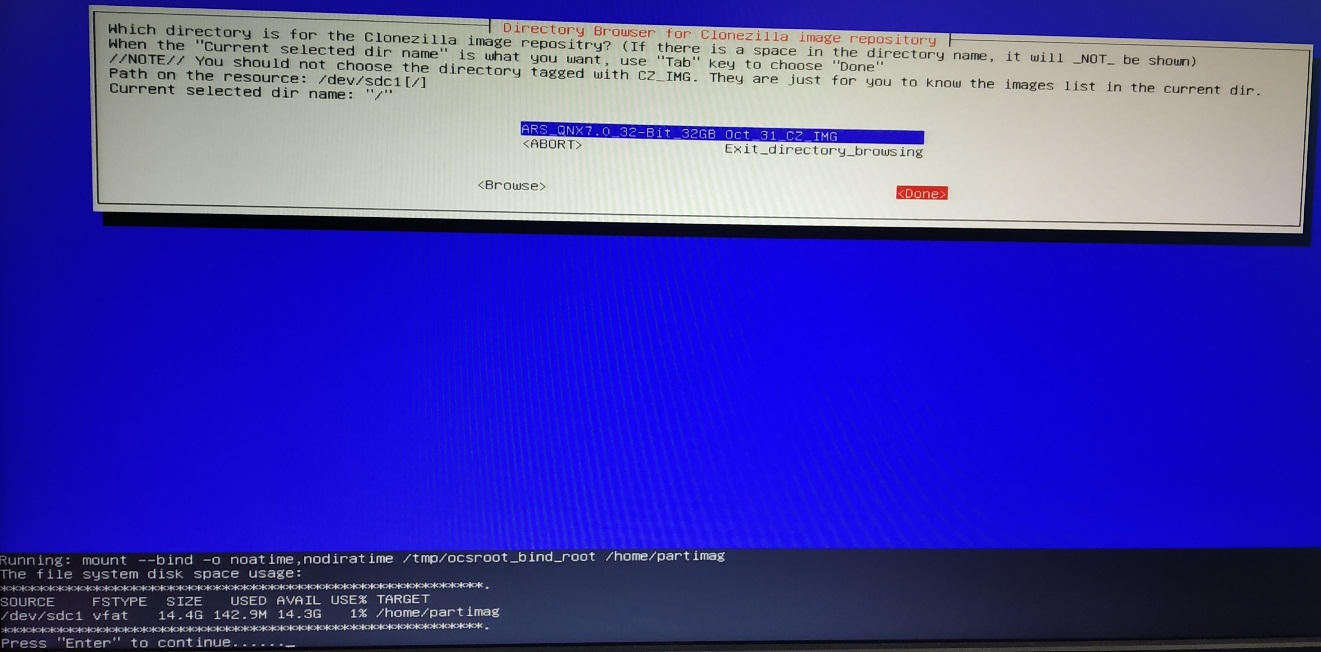
Select the pen drive which has ARS_QNX7.0_32-Bit_32GB_BSP Image folder, the following is an example, so Choose the pen drive correctly
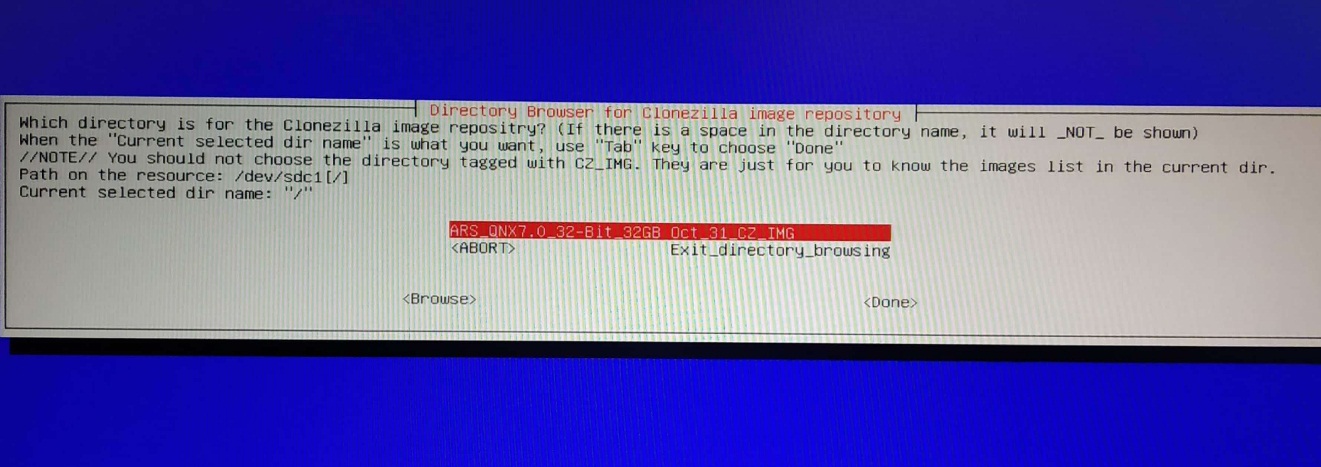
Select “ARS_QNX7.0_32-Bit_32GB_BSP_IMAGE” option and click onto “Done” using “Tab” button.
Press enter to continue for next step.
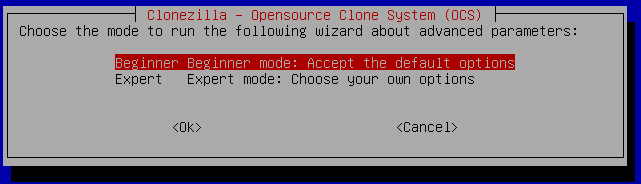
Select following option.
Select following option
Select following option
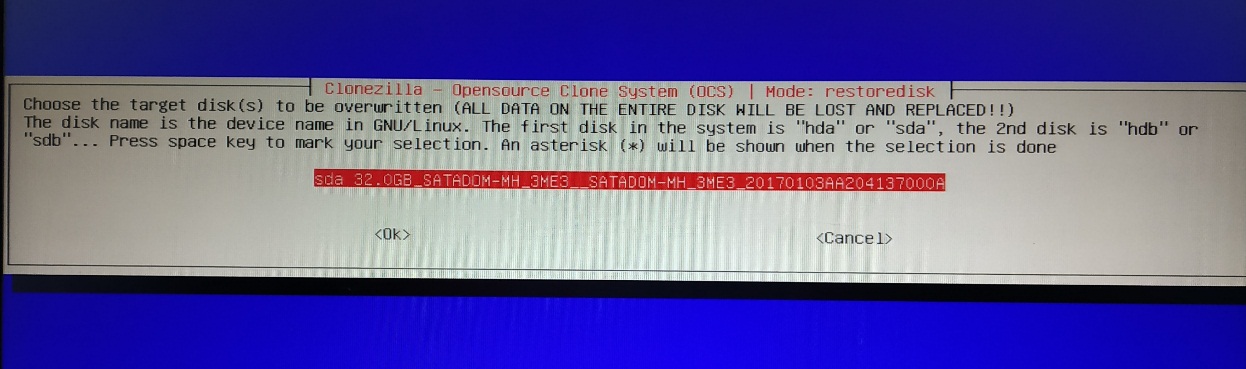
Select the SATADOM to restore/copy the QNX 32-bit BSP image
Select following option.
Select following option.
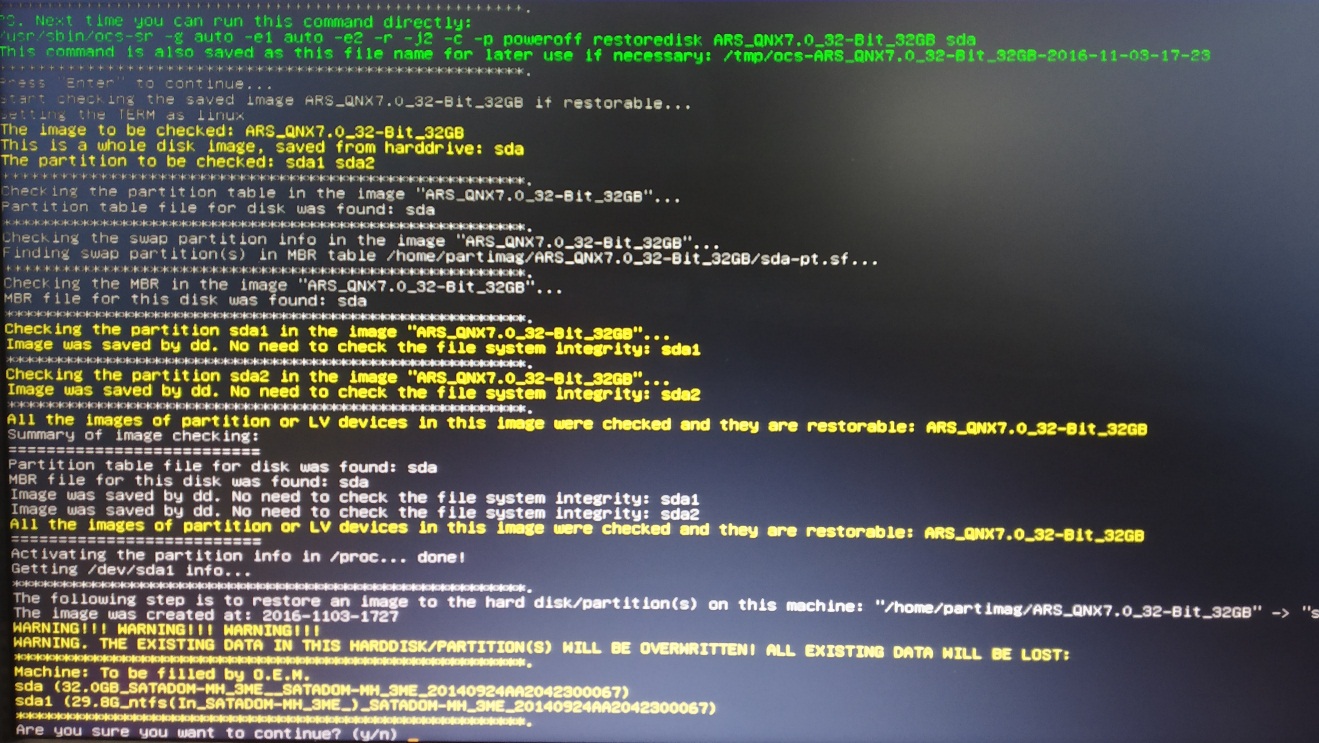
Press Enter to continue
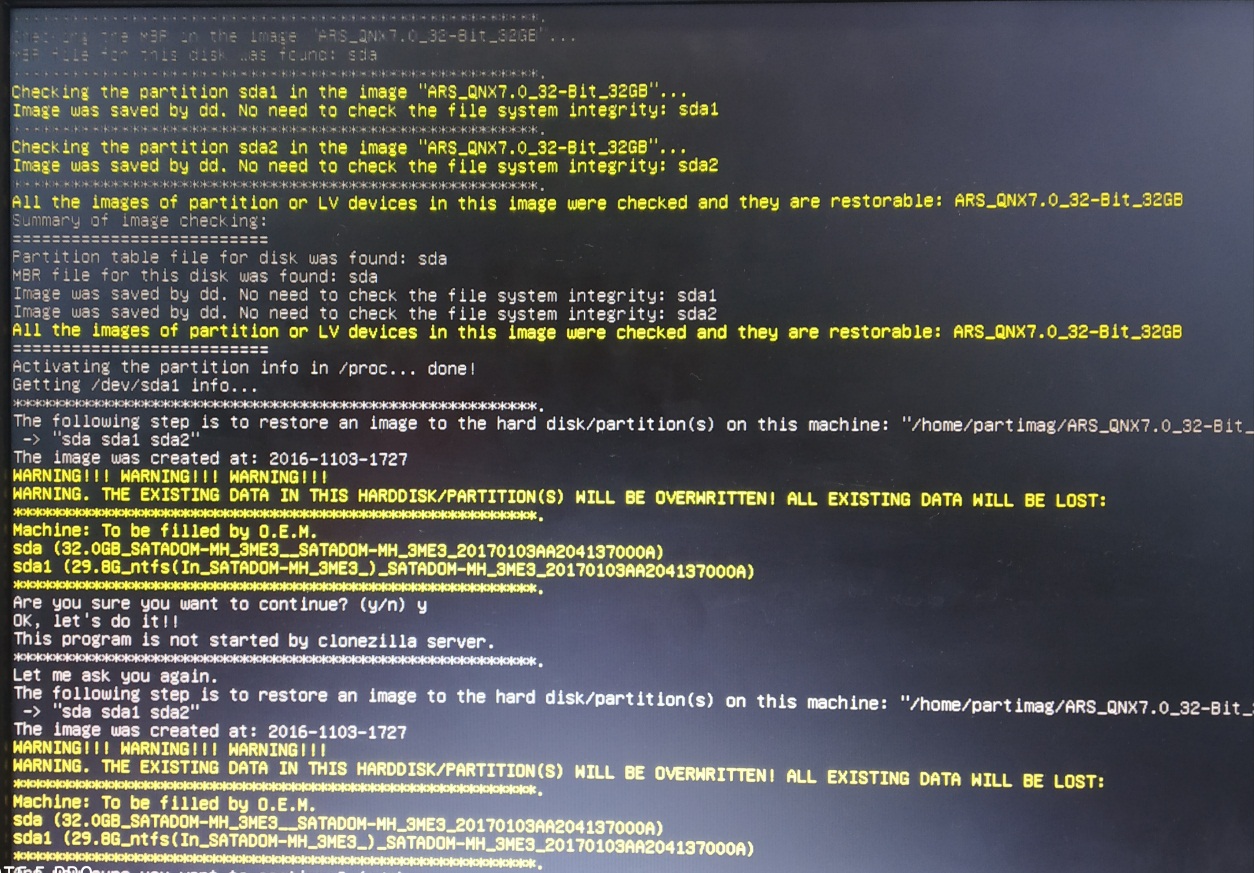
Type “y” to continue.
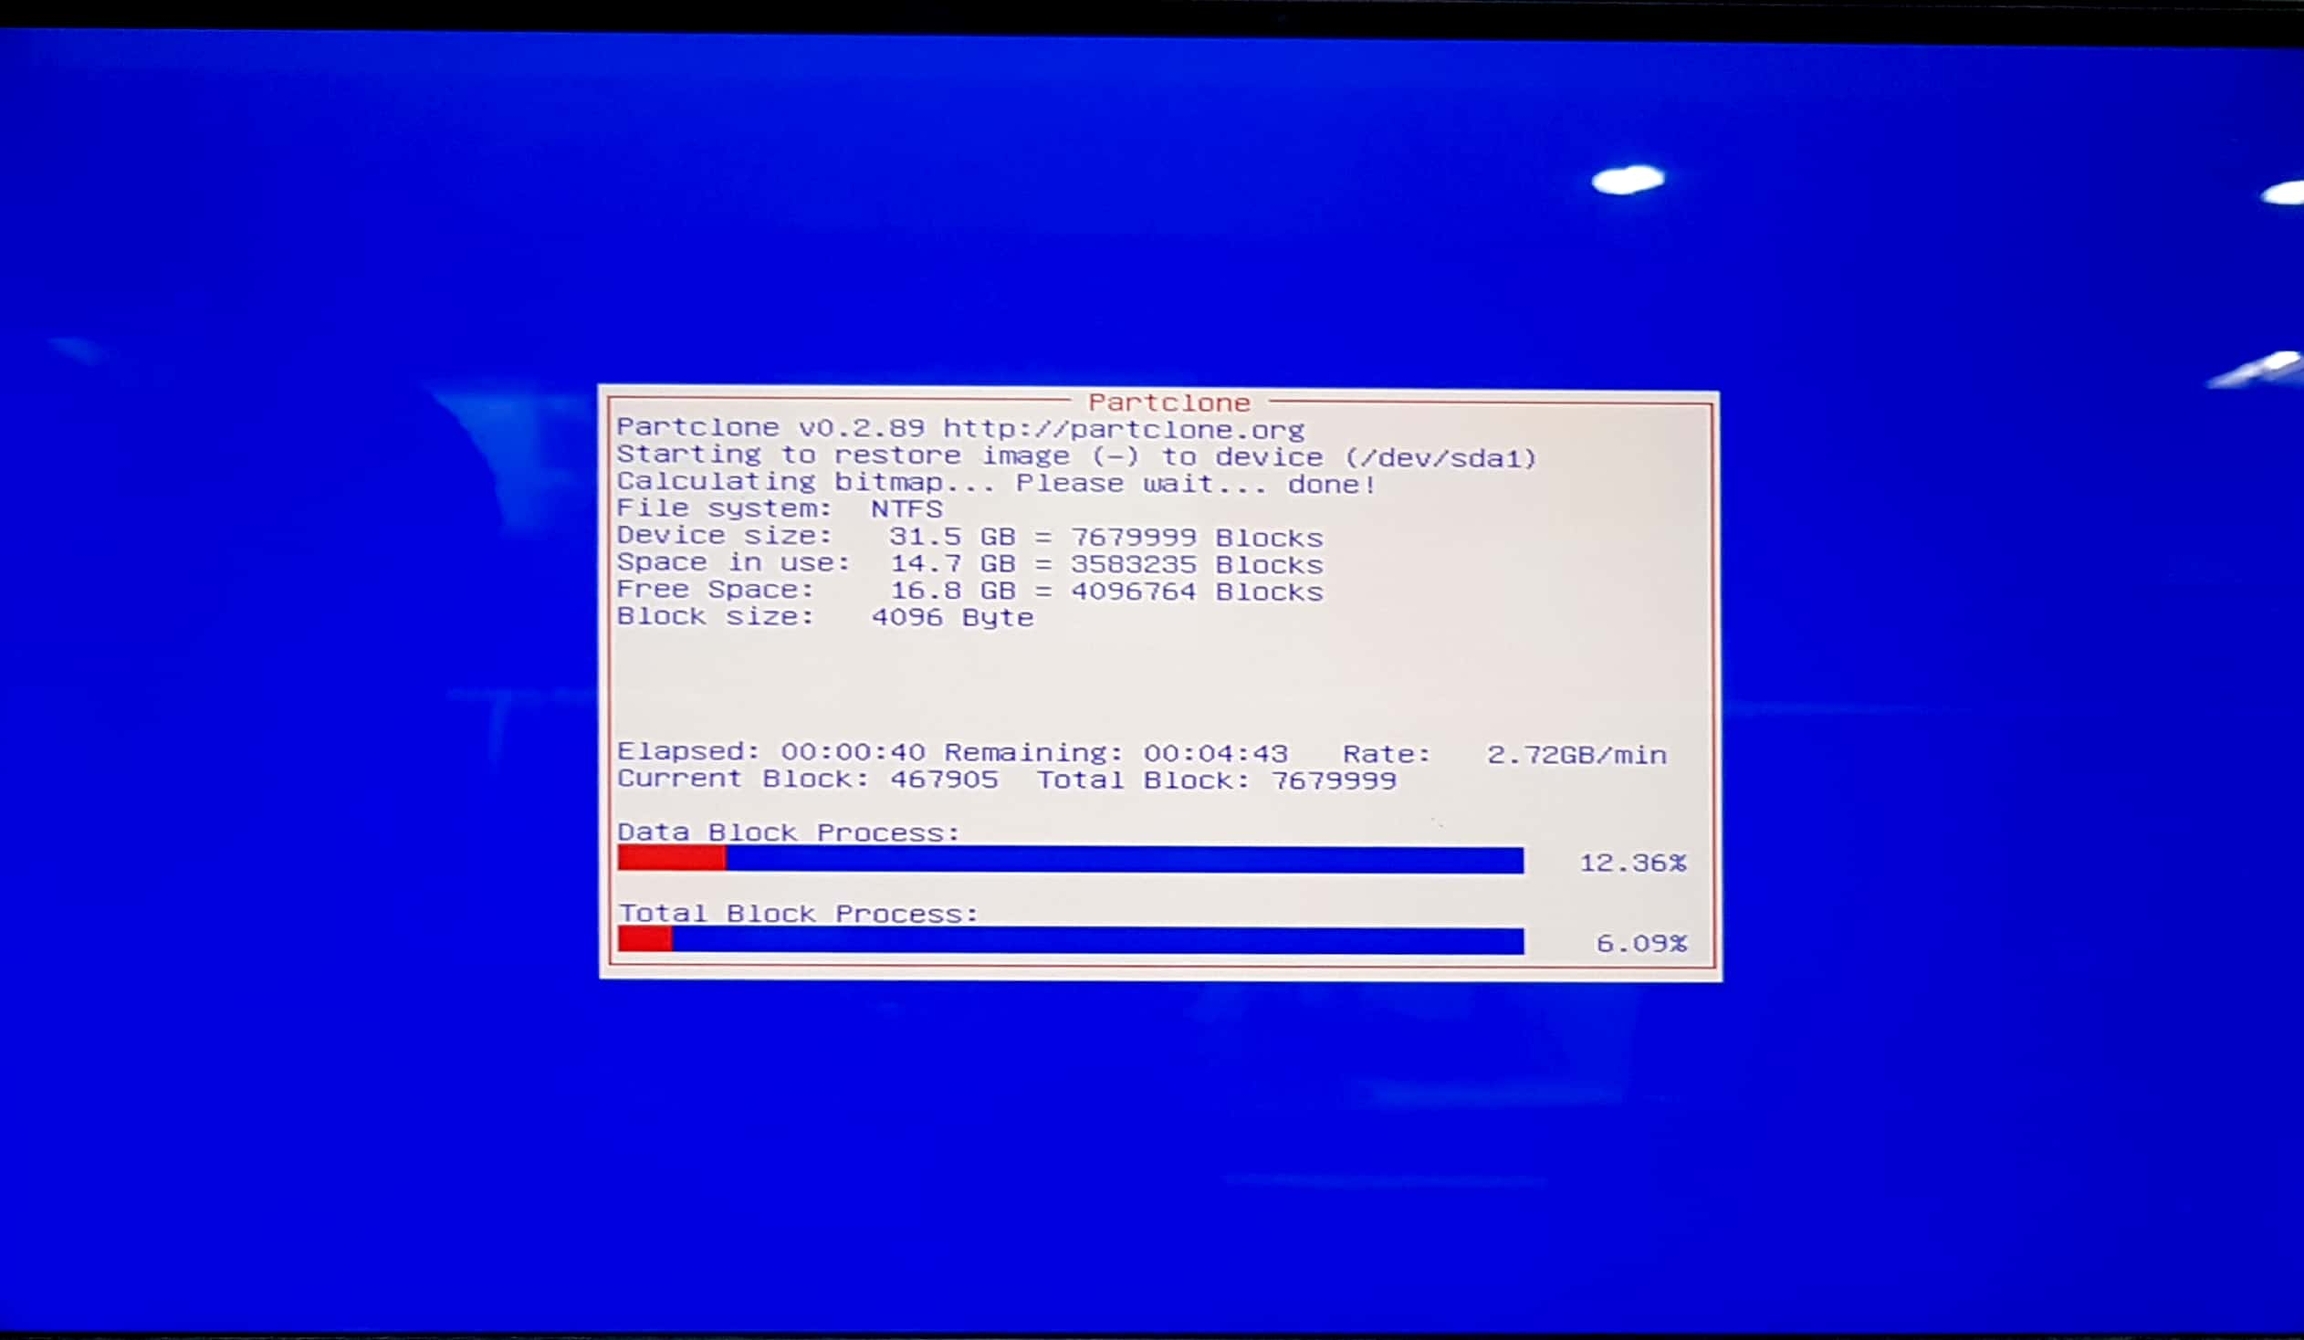
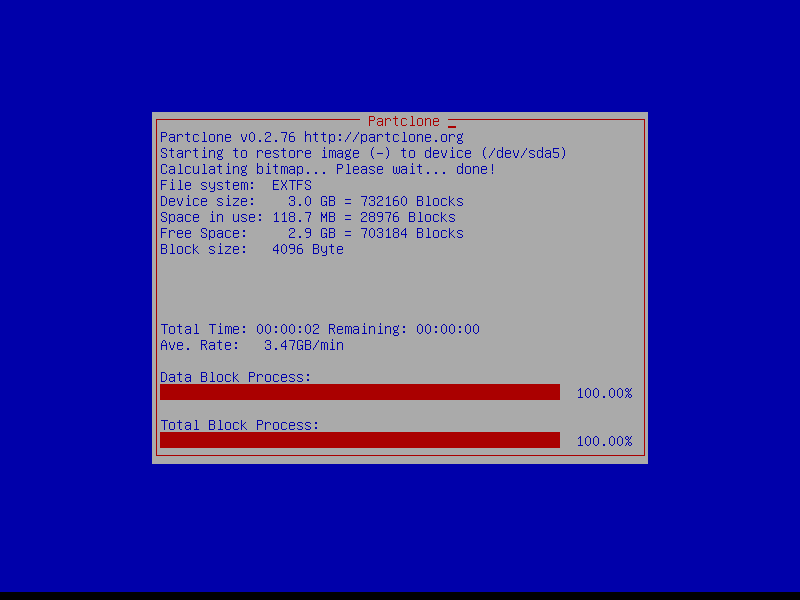
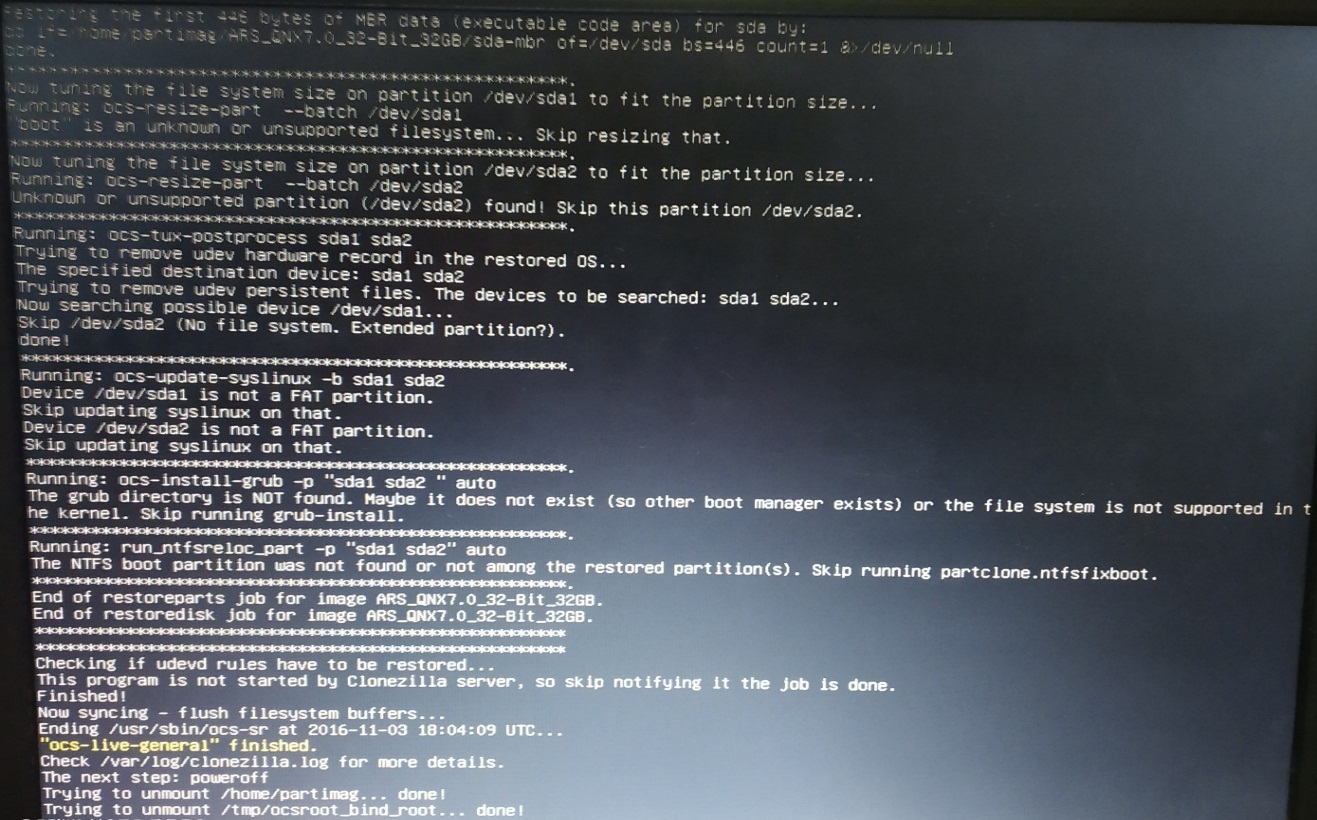
Then it will start copying the image to SATADOM.
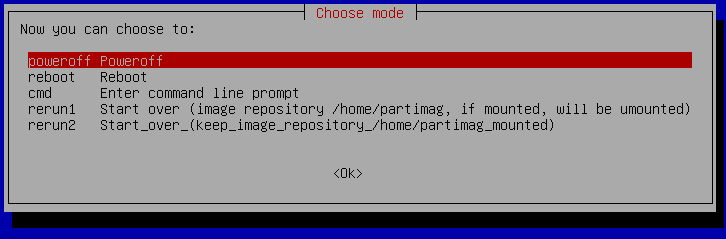
Once Copying is done, press enter to continue.
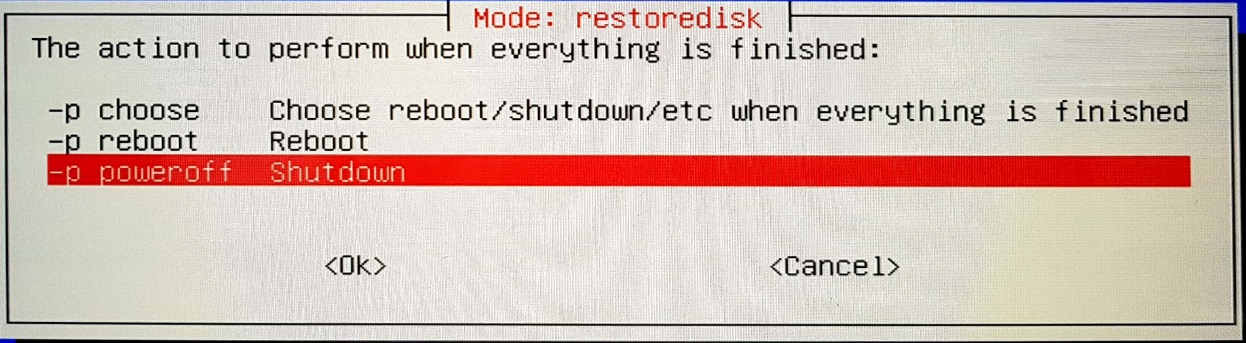
Select Power off.
Now the SATADOM is ready to boot to Aries QNX 32 bit.
Last updated